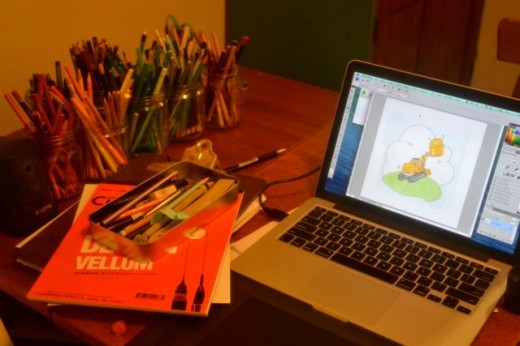
I love seeing how artists work, so here’s a glimpse into my process for all of you studio snoops and creative-process junkies.
See you later, excavator! is a commissioned illustration, and because the customer wanted the text incorporated onto the image and a finished image “like it’s out of a picture book,” I finished it in Photoshop, which is handy for this post, so that I can show you an illustration from start to polished-for-print finished. A lot of my work is sold as originals, and never gets surgically operated on in Photoshop, so this is a good one for show-and-tell.
Some of the tools I used:
- mechanical pencils
- Rexel Cumberland pencils: 5H, HB, 2B
- my trusty Staedler mars plastic eraser … so much erasing
- Moleskine sketchbooks (small one and big one)
- design vellum (for tracing)
- light table (the ever so useful light table)
- Prismacolor Premier coloured pencils
- Derwent burnisher
- Micron Pigma pens (05 & 08, to be specific)
- Pentel brush pen (decided against that effect … see below)
- Epson scanner, MacBook Pro, Wacom table (WHOOT!), and Photoshop.
- Strathmore Bristol smooth surface artists paper, 400 series
- Scissors, glue stick, coffee & McVities biscuits. Not kidding.
Phew.
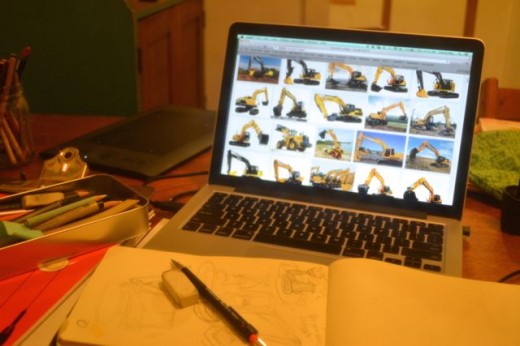
First, research. Thank you, Google images.
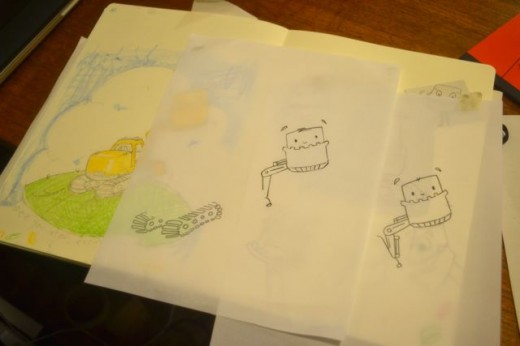
Very rough sketches in the little sketchbook.

More sketching and messing about in the big sketchbook. Played with profiles, positioning, googly-eyes, expressions. Cut and paste, erase, erase, erase. Did I mention that I love my erasers? I have a whole jar of them in various sizes and compositions.

Then out comes the vellum so that I can play with the final layout, and try out any changes I might make. For example, the crawler tracks were WAY different in the first sketches. This is when I tried out the ink brush, and decided that I didn’t like it for this illustration.
Here is the completed rough sketch. This is when I test various colours, and get an idea of how the finished image will look.

Then I traced the image onto vellum, and used the light table to lightly sketch the image onto the Bristol.
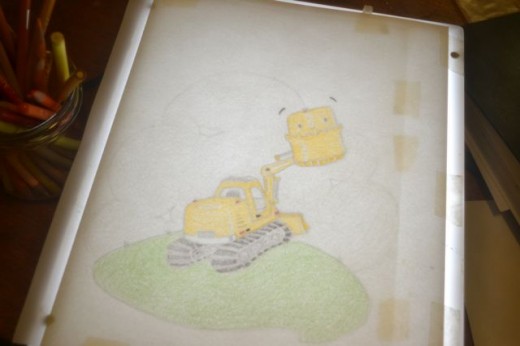
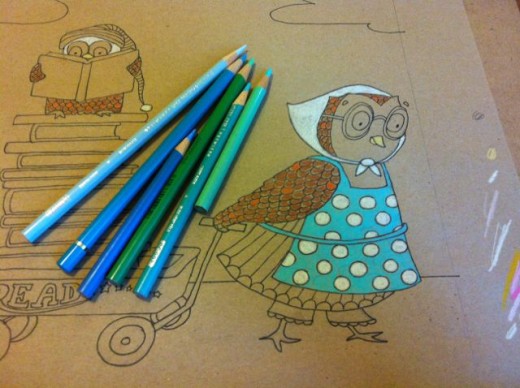
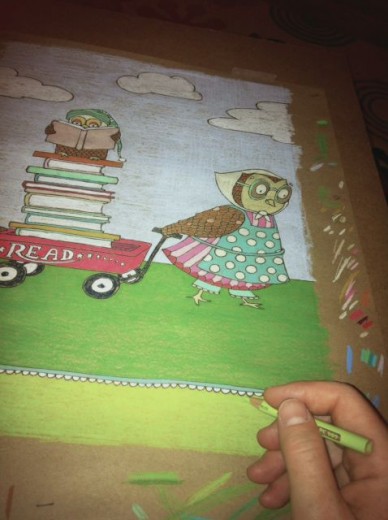
Then I apply the colour, working from light to dark.

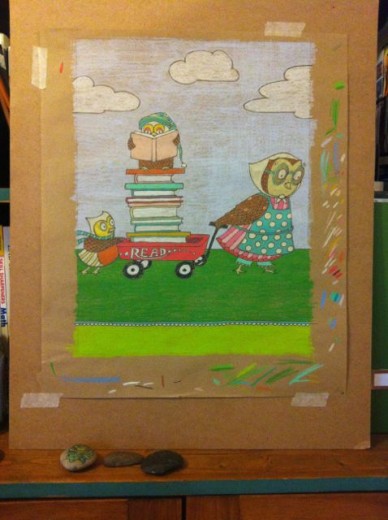
Almost done. This is when I do the final outlining, if there is to be any.
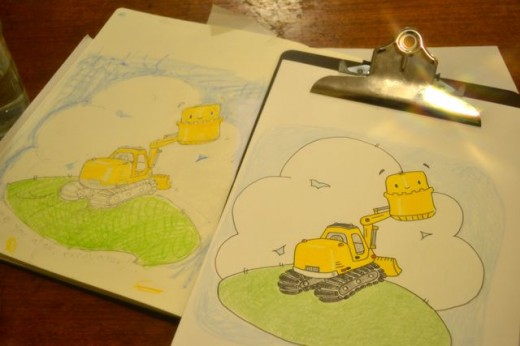
Hello, excavator!

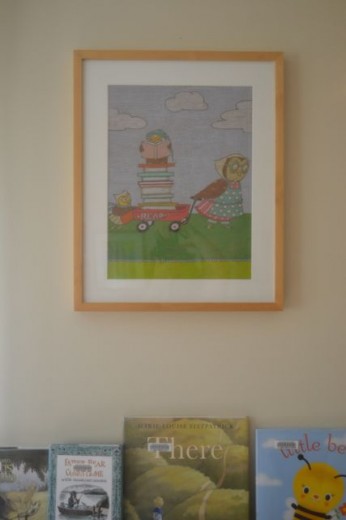
Scanned and opened in Photoshop. Adjusted canvas size, isolated the background, added text.
Saved as a 600 dpi TIFF and emailed to the print shop!